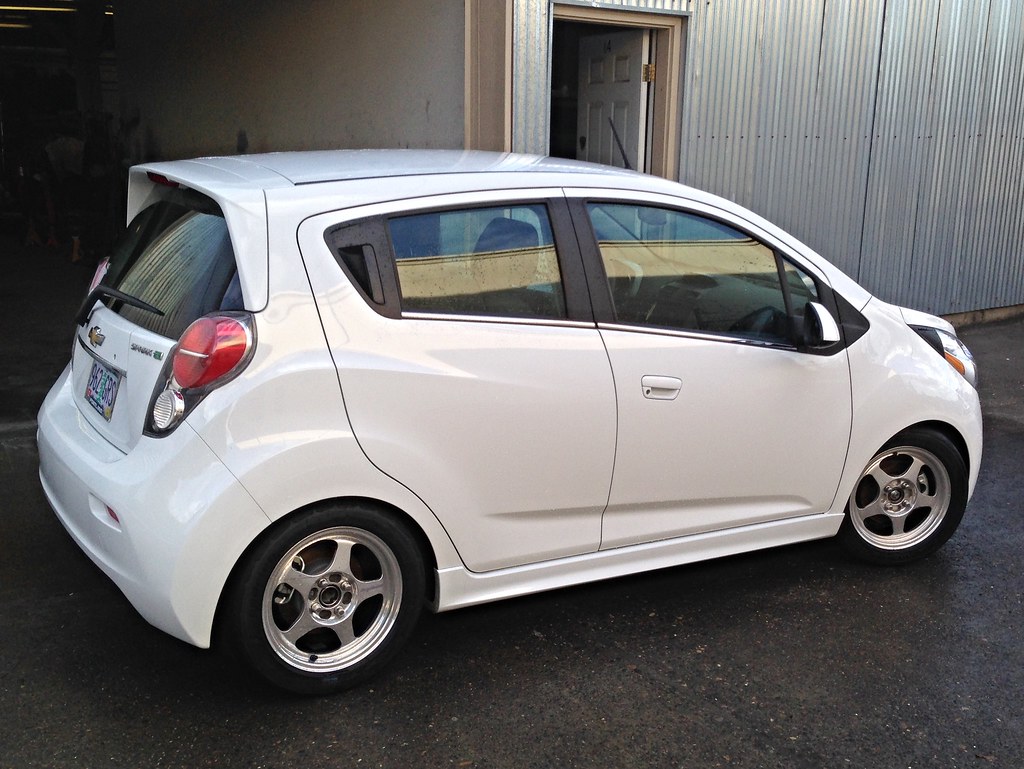
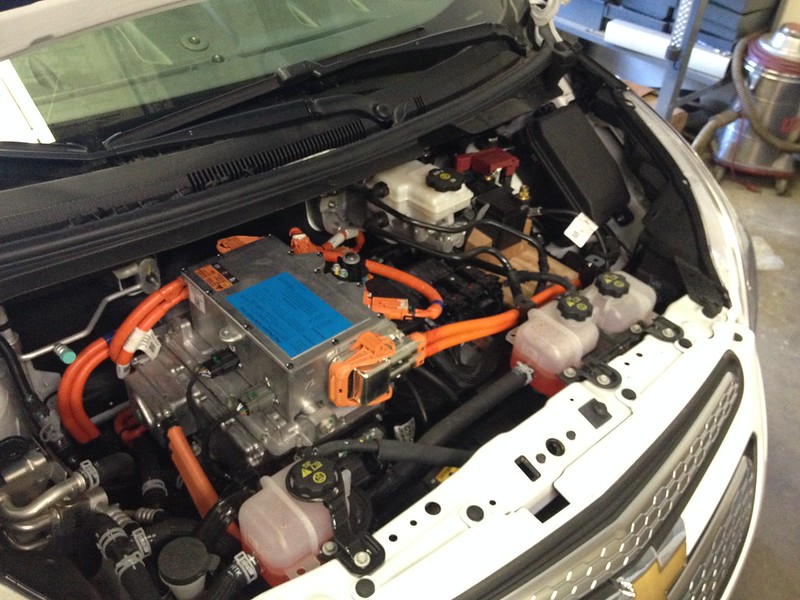
Suspension
The very first modification I started on with the Spark EV when I got it was getting different suspension on it. From the factory, the Spark EV is a wallowing turd bucket with horrible feedback considering its size. This is partly due to the construction of the extremely efficient and quiet tires that suck otherwise, partly due to skinny tires for a car this size, and partly due to the spring and swaybar combos the car is equipped with. It's very clear that GM didn't intend for this car to be a hot hatch competitor, the powertrain just happens to enable it to be possible. So, the car needed lowered, stiffened up, and fitted with better rubber. I decided to lower first and fit tires second to take the safe path forward.
There are almost no aftermarket options for the Spark suspension in general, despite being produced in huge volumes for a global market. To make matters more difficult, the Spark EV has a slightly unique rear suspension compared to the gas car because of the additional battery weight in back. To make things even more difficult, the strut body in front doesn't have a large enough inner diameter to allow for something simple like a Koni insert. Rather than reinventing the wheel, I started with a coilover kit from Megan Racing that was intended for the gas Spark. It wasn't as easy as I had hoped, but I made it work out. I'll detail the work required in case any others are crazy enough to want to duplicate my efforts.
Start with the Megan Racing coilover kit for the (gas) Chevrolet Spark:
http://www.meganracing.com/product.asp?prodid=1565&catid=31
Model Number : MR-CDK-CSP13
The front strut assembly and front sway bar links are a direct bolt in, just follow normal procedures to install them like any other coilover assembly. You'll need a set of stock Spark strut top bearings. In my case, I got a pair of gas Spark strut assemblies to dissect and used those bearings so that I could keep my stock Spark EV strut assemblies intact.
The rear spring and damper setting is where things get more challenging. The root of this is the unique suspension on the Spark EV. There are three reasons the Megan Racing kit for the gas Spark doesn't work for the Spark EV:
1. The Spark EV rear springs are unique. In addition to the increased spring rate to deal with the extra weight of the battery, the upper and lower spring seats are different diameters (Spark EV spring has much smaller inner diameter at the perch).
2. The Spark EV rear upper damper attachment is completely different from the gas Spark. The chassis has a unique attachment that a pretty nice casting attaches to, and the damper goes into that casting. This ultimately means that the damper end in the Megan Racing kit interferes with the chassis without modifications.
3. The Spark EV rear lower damper attachment is just a little bit different. It uses an M14 bolt instead of an M10, which means the kit as provided won't bolt up. Because the damper is carrying some significant loads and the bolt is mounted in single shear, it didn't seem like a good idea to use a thread insert and an M10 bolt, so I ended up finding another part from Megan Racing's parts bin that works (from the Chevy Cobalt).
Here were my solutions to these issues. I won't say these are the absolute ideal solutions, but they worked for me.
1. I bought a pair of 325 lb/in, 8" long, 2.5" ID springs from Eibach. The rates and length were based on stock geometry, the amount of travel required, and the weight You can get springs with the same dimensions from lots of suppliers, I like Eibach. You can get these from lots of places, I like using Summit:
http://www.summitracing.com/parts/eib-08002500325/
The 2.5" spring can be used with the stock spring rubber in the upper spring seat, so you're halfway there. The lower spring seat is a bit more tricky. I just happened to have some adjustable spring perches laying around that worked perfectly with one modification. These came from a buddy's Ground Control kit for his Toyota AE86. This kit also had the exact same springs that are needed (325 lb/in, 8" long, 2.5" ID). I *think* that if you buy this kit, it comes with the same parts I used:
http://www.ground-control-store.com/products/description.php/II=96/CA=18
These threaded adjusters have a stepped ID, which allowed me to bolt them in place, ensuring that the spring and seat can't come out when the suspension is at maximum droop. I used a 1/2" bolt (4" long?) and a large washer that matched the larger inner diameter to bolt the spring seat in. The modification I made was to cut the spring seat down from 4" to 3" long so that the suspension had maximum upward travel. This is what it looks like in the end:
<insert picture of rear spring and adjuster…photo on the way>
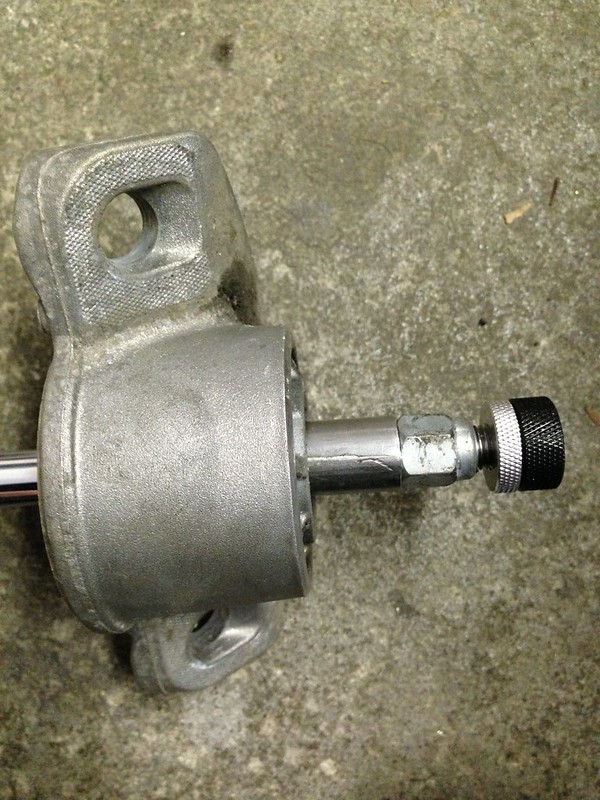
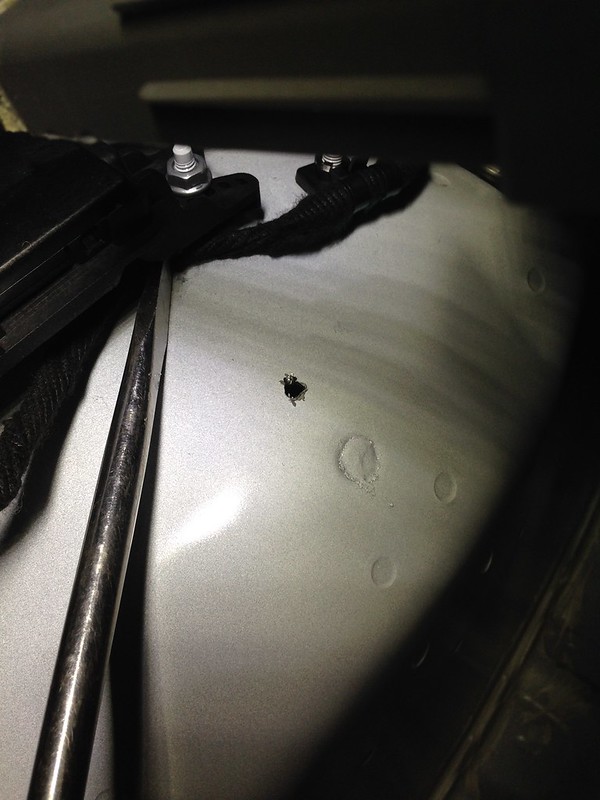
2. This is the part you're really not going to like if you've been wanting to do this. The upper damper attachment interferes with the chassis. The first difficulty here is that the threaded portion on the damper isn't long enough for the Spark EV upper damper mount. I used a steel bushing to make up the difference, not too bad. The extra length causes another issue because it interferes with the chassis. Unfortunately, the only solution I could come up with was drilling a hole in the chassis to allow clearance for the damper. I did this by bolting the upper damper mount into the chassis (without the damper) and using a marker to mark the underside of the chassis where the center of the mounting hole is. I removed the interior panels to make sure I wasn't going to drill into a wiring harness or similar. I then drilled a small hole where that center point was marked from the bottom. Finally, I used a step drill to increase the hole size to about 3/4" and deburred the hole. Lastly, I drilled a small hole in the interior panel so that I can reach the adjusters with an allen key (rather than the provided adjuster) without removing any parts from the car. Some photos should help here:
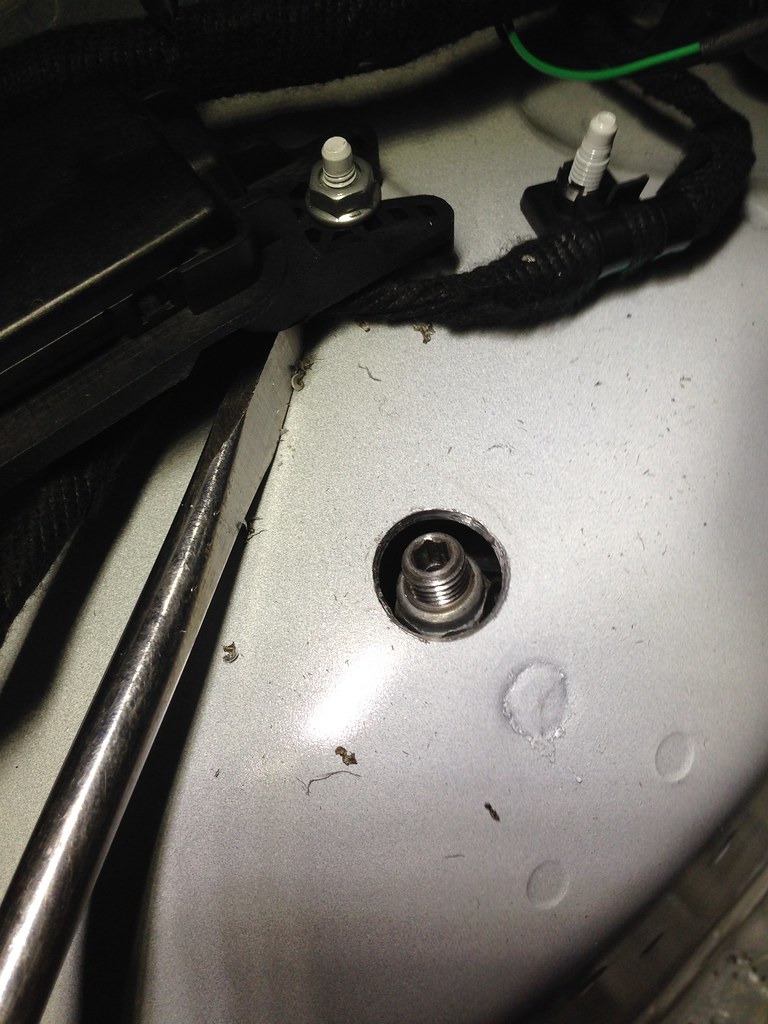
3. The rear lower damper attachment that comes with the gas Spark kit from Megan Racing won't work for the Spark EV. I made it work for a short while with a band-aid solution while waiting on better parts, but it was pretty sketchy and in a couple of months of use was looking pretty rough. Fortunately, there is a bolt-on part that works perfectly from Megan Racing. Unfortunately, it took a little while to get the parts and I never did get a part number to easily order more. What is needed is the rear lower damper attachments from this kit:
http://www.meganracing.com/new/product.asp?prodid=50&catid=31
Model Number : MR-CDK-CC06
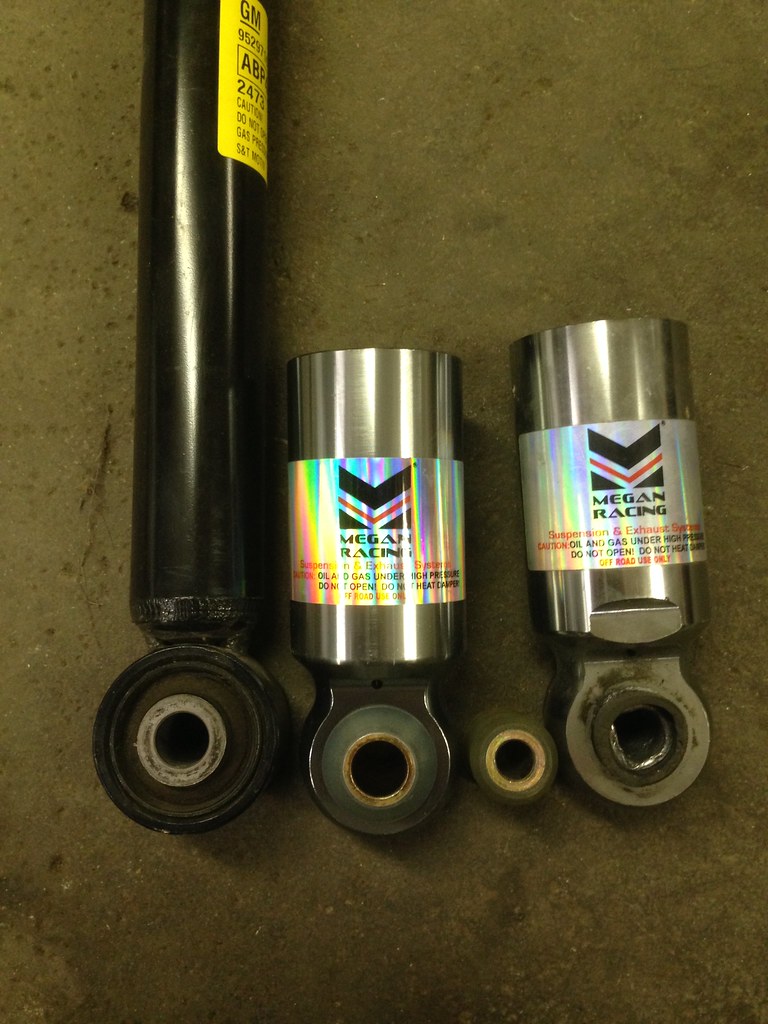
This works out because the Cobalt used a similar style suspension with an M14 bolt, as used in the Spark EV, and the Megan Racing damper for the Cobalt kit is the same thread as the Spark kit, so it's a one-for-one swap. I paid $50 for the parts, which was very reasonable. This is the stock damper, Cobalt mount from Megan Racing, and modified Spark mount from Megan Racing (unmodified gas Spark bushing shown).
That's the somewhat long and slightly twisted tale of the modifications required to get fully adjustable coilovers on the Spark EV. This allows the car to be lowered as much as 3 inches if one was just wanting a slammed Spark. I run mine about 2" lower than stock to allow for adequate suspension travel with the stiffer springs. The stiffer springs make for a much easier to drive car at the limits and of course the lowered ride height brings the center of gravity down and makes for less body roll. Plus it looks cooler.

An important note is that the Megan Racing kit has tons of adjustments, not only the damper settings but the height for the thread strut and shock bodies. It took me quite a bit of test and tune to get my dampers dialed in for the spring rates. The heights of the threaded bodies and spring perches can be used to not only dial in the ride height, but also the damper stroke. If you screw this up, you can cause damage to the suspension components and possibly even cause a catastrophic failure of the components which could make for a really bad situation. I'll take measurements of my setup shortly to help others speed up the process, but the importance of making sure you've done this right can't be overstated. I've corner weighted the car to get it dialed in as well as I could, about 51.5% front, 48.5% rear weight bias and about 52% left and 48% right weight bias with me in the car.
Another note that might of interest for folks racing is how to get some camber in the front and rear. The front is pretty standard "camber bolts" (same between the Spark EV and gas Spark). I used Raybestos parts from Rock Auto which they no longer list, here are some others they currently list that look just like the Raybestos ones I got:
https://www.rockauto.com/catalog/raframecatalog.php?catalog=11&partnum=K9757
The rear is more tricky. There is a pretty simple four bolt interface between the beam axle and the hub. I had hoped that this interface would be common with some other GM stuff so I could use something like this:
http://www.eurosportacc.com/products/euro-sport-1-degree-rear-camber-shims-vw-mk1-mk2-mk3?variant=10571887553
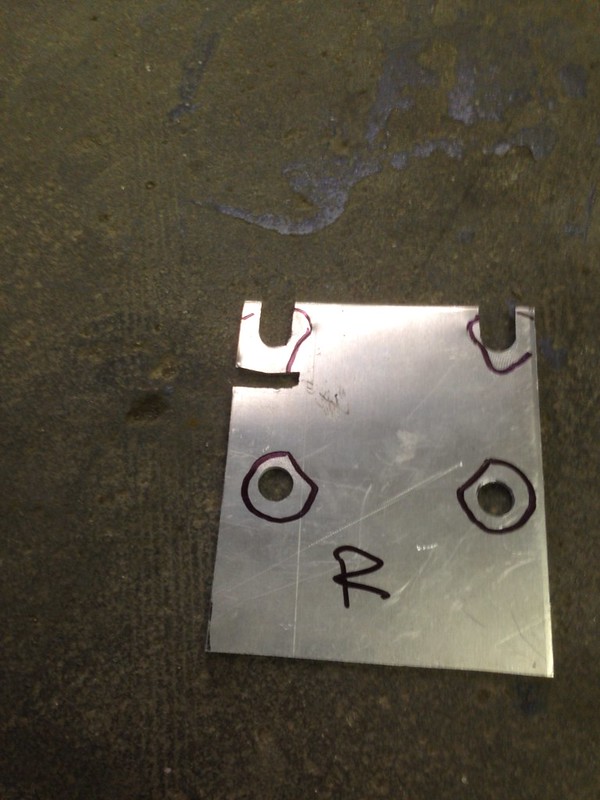
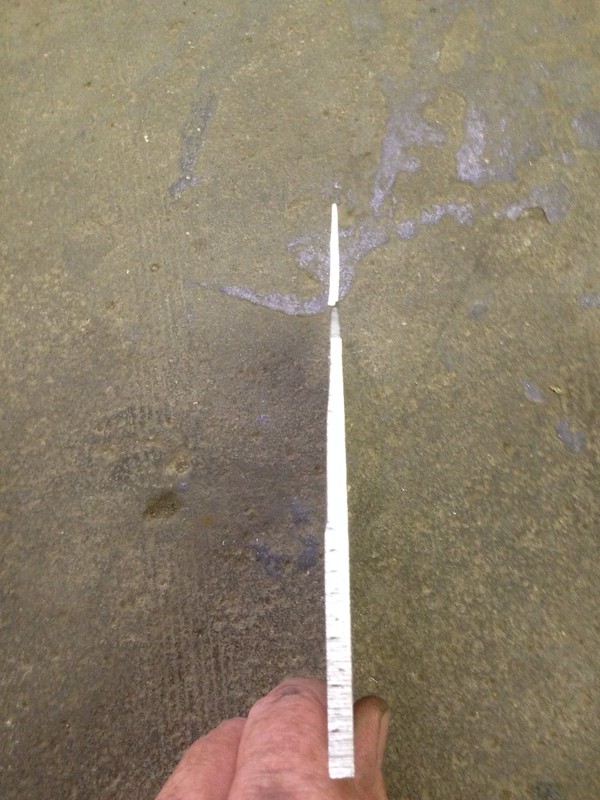
Turns out that we're not so lucky. So, I used some aluminum plate I had laying around and made some myself. This is what I ended up with (right side shown):
This gives me about 2 degrees of rear camber, which allows the BFG Rival 205/50R15 tire on a 15x6.5" ET45 wheel to fit in the rear without any rubbing. It's extremely tight, but *just* fits. Without the camber shim, there is rubbing with that specific tire. Moog recently came out with these rear camber shims, which they claim will work on the Spark, but I haven't tried them to confirm or deny.
http://www.moog-suspension-parts.com/moog-k100105
I leave the front alignment with as much camber as I can get, a touch under 2 degrees, and zero toe. Any more camber than that and my tires would rub on the spring adjusters…fitment is that tight! I only install the rear camber shims when I'm racing; they only take about 15 minutes to remove and it helps reduce rear tire wear to keep it at zero camber during daily driving.
Bryce


