As I said, I don't have time for instructions, but I took some pictures to inspire you. I couldn't even find my cardboard template I used for the rear seat delete that had the dimensions on it! y
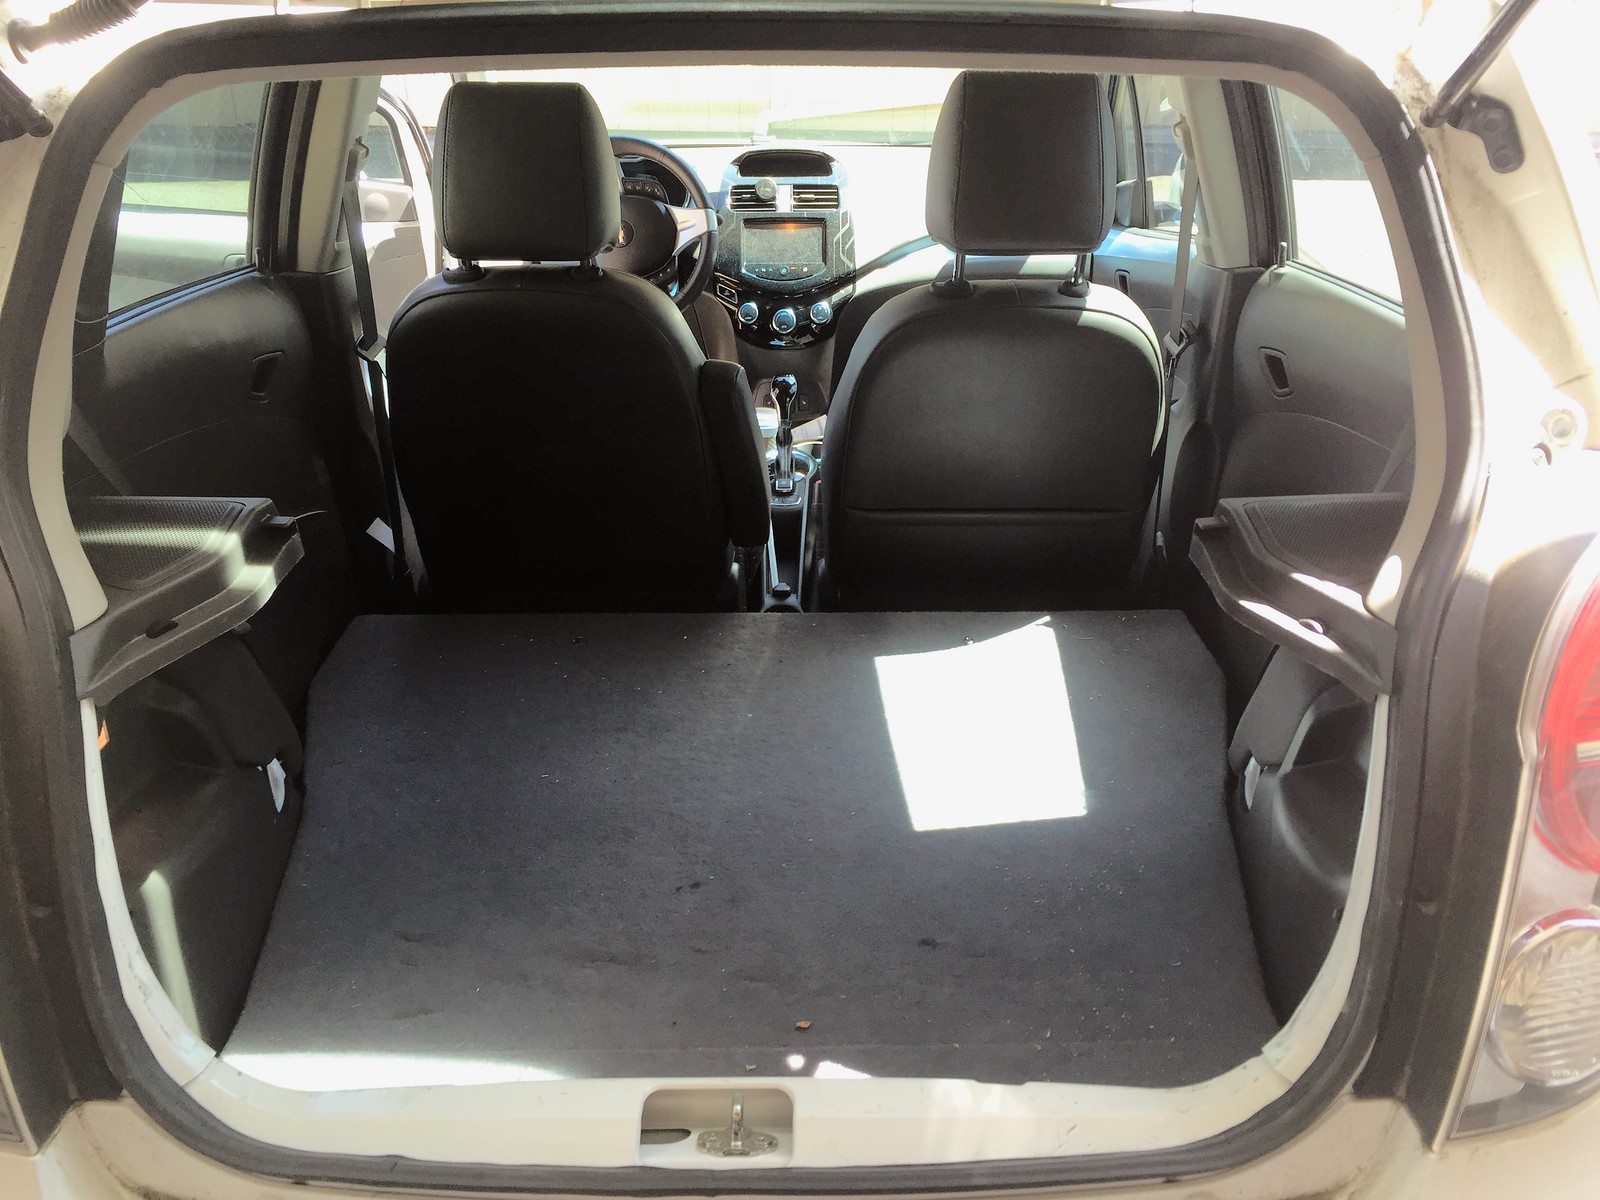
I used 3/4" plywood, and if you've got a friend with a Spark EV you can make two of them out of a single 4x8 sheet of plywood. I made a cardboard template and carefully trimmed it until it was fit well but wasn't a sloppy fit (about 1/2" gap around the edges) so it wouldn't scuff up the interior plastics. This is what it looks like installed:
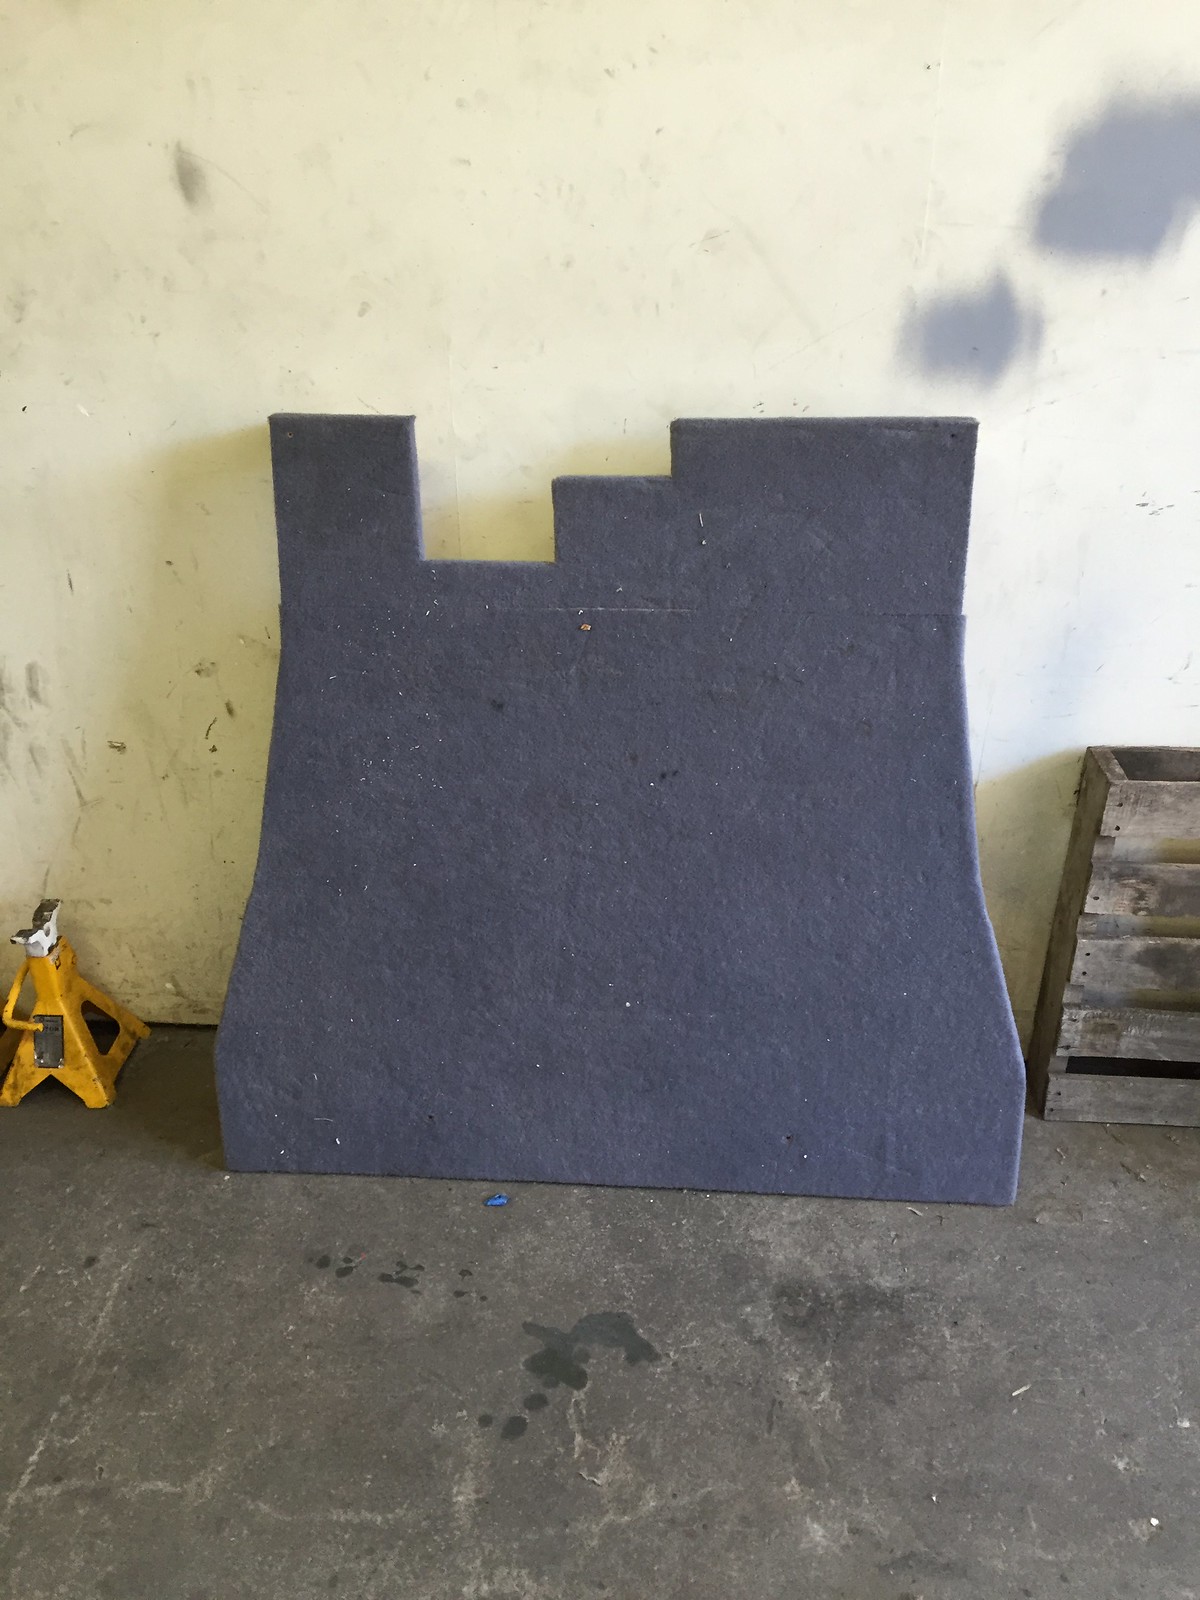
This is what it looks like removed. It fits *perfectly* through the rear side doors. Just slide the front seats forward, then tilt it and slide it out the door opening.
You can see a seam in the carpet near the top (the rear of the car) because I couldn't find any appropriate carpet that was big enough at the car parts store the day I made it. Since then, I've seen that Lowe's has some small rolls of indoor/outdoor carpet that look similar and come in larger sizes (avoiding the seam) and would have been cheaper to boot.
I used some small spacer blocks in the two rear corners to support the plywood and raise it off the high voltage disconnect/fuse assembly. I also used some
junk I had laying around the shop to attach the forward section to the original seat mounting holes, which kept the assembly from sliding forward as well. This wasn't elegant, but was effective and used junk I had around the shop in a matter of minutes. I called the Chevy dealership intending to buy two more plastic clips that are used on the stock Spark EV seat, but they wanted some ridiculous amount ($30 each?). The better way to go would probably be to get some expanding rubber nuts (aka "well nuts"):
http://lmgtfy.com/?q=expanding+rubber+nut
The end result is a significant increase in interior storage volume. More importantly for me, it created several inches more headroom for my big dog, which meant he wasn't rubbing on the headliner when he wanted to get some fresh air. It also created a flat platform, which was very handy for his dog bed or just regular using-a-hatchback-like-a-pickup activities. It was definitely louder than the stock configuration. I thought about tossing a bunch of polyfill or similar underneath of it, but the point of this design was to be cheap and extremely easy to install and remove. As a side benefit, it also sheds about 30 pounds compared to the rear seats alone.
This completely flat setup requires unbolting the rear seat bracket, which has four bolts (one torx, three hex). Unfortunately, the seat bracket sits a few inches higher than this deck height, and since the lowest load floor possible was my goal I opted to remove the bracket each time I installed the cargo shelf. If you just wanted a flat floor and didn't care about the maximum vertical space, you could leave the seat bracket in and just have the shelf a few inches higher. You could also slot the plywood and have the bracket stick above the flat floor if you didn't mind the protrusion.
If you guys want to try and replicate it, I'd ask that you start another thread just for the rear seat delete topic.
Bryce


